How to Fix a Flat Tire: Step-by-Step Guide
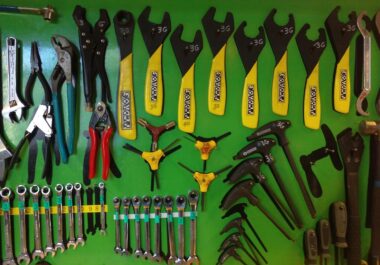
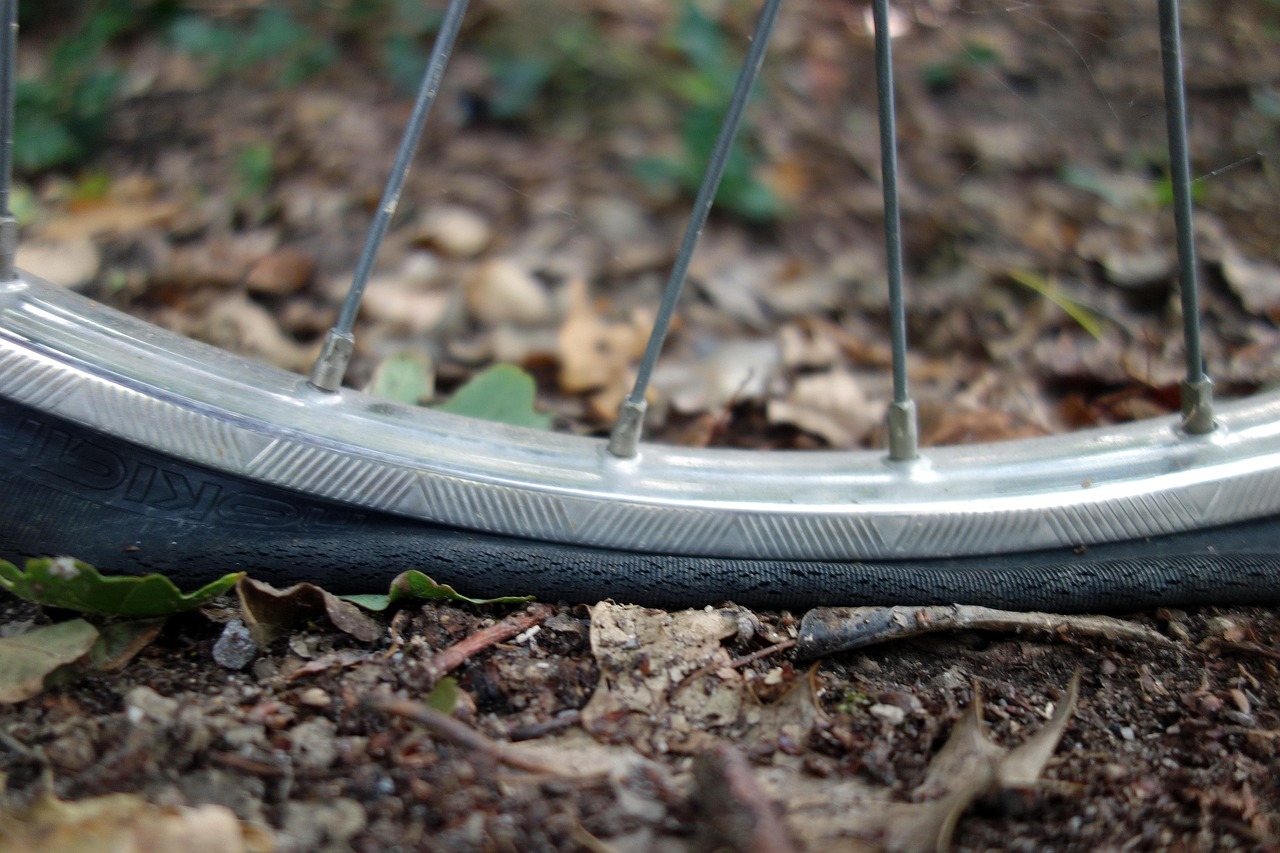
Experiencing a flat tire during a ride can be frustrating. However, understanding how to fix it can save time and keep your cycling experience enjoyable. The first step is to gather the right tools: tire levers, a spare tube, a pump, and a patch kit. Make sure to check that you have everything before starting your repair. Once you are ready, find a safe area to work on your bike. If you have a stand, it can make the process easier, but laying it down works too. Before you remove the tire, ensure your bike is secure. This might involve flipping it upside down if necessary. Remove the wheel by loosening the quick-release lever or nuts. Now, carefully release any air left in the tire, making it easier to work with. Take your tire lever and insert it under the bead of the tire to pry it loose. Repeat with a second lever until you can remove one side of the tire. This process is vital as it allows you access to the inner tube and will aid in the repair process you will perform next.
Next, it is essential to remove the inner tube from the tire. This is accomplished by pulling it out gently once the tire is loosened. Inspect the tube thoroughly for punctures or damage. You might find the issue near the valve or other areas. If the hole is small, consider using a patch kit for repair. Clean the area around the hole, and apply the adhesive as per the instructions. After the adhesive is set, place the patch over the hole, ensuring proper coverage. Allow the patch to adhere well before reassembling everything. If the tube is beyond repair, replacing it with a new one is necessary. Take your new or repaired tube and start inserting it back into the tire. Begin by placing the valve through the hole in the rim. Taking care to tuck in the tube properly, avoid pinching it between the tire and the rim. This deliberate action prevents future flats from occurring. Once the tube is correctly seated, you can begin to reattach the tire back onto the rim, slowly working your way around the wheel for consistency.
Reinstalling the Tire Correctly
Once you have the tube back in, press down on the tire while making sure the tube remains properly situated inside. At this point, you will want to ensure that the tire bead fits snugly around the rim. Utilize your hands to push the tire down firmly. A common mistake is leaving the tube exposed, which can lead to pinching it when reinstalling the tire. Use your tire levers only as a last resort during final adjustments. Once you are confident that the tire has seated correctly, it’s time to pump it up. Make sure the tire reaches the proper air pressure as indicated on the sidewall. It’s a good practice to keep a portable pump with you on your rides for convenience. After inflating, double-check to ensure the tire is well-aligned on the rim and that the bead is even throughout. Take a moment and spin the wheel to ensure everything is spinning freely. If everything looks good, you are almost done. Next, you’ll need to reinstall the wheel back onto your bike frame.
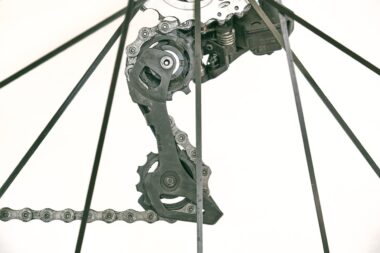
The wheel can be reattached by sliding it back into the frame, making sure that it fits snugly in place. If you have a quick-release mechanism, tighten it securely. On bikes requiring nuts, use a wrench to ensure they are firmly in place without being overly tight, which can cause strain on the frame. Once the wheel is securely back on, double-check that everything is aligned correctly. Spin the wheel again to ensure there are no strange sounds or rubs that would indicate a serious issue. Next, it’s time for a quick check of the surrounding components – make sure your brakes work effectively and that the derailleur is functioning well. A quick visual inspection can help detect any problems before heading out. Remember to keep all necessary tools in your bike bag for future emergencies. Your ability to manage small mishaps will greatly improve your overall cycling experience. Now that your tire fix is complete, continue your ride with confidence. It’s an essential skill that gets better with practice.
Preventative Measures
Preventing future flat tires can save you time and effort when riding. First, consider investing in puncture-resistant tires, which can significantly lower your risk of flats. These tires often feature reinforced sidewalls or thicker rubber that provides extra protection against sharp objects. Regular maintenance can also extend the life of your tires. Ensure that your wheels are correctly inflated according to the manufacturer’s guidelines. Check your tire pressure before each ride, as under-inflated tires are more susceptible to damage and can lead to pinch flats. Avoid riding in debris-laden areas, where sharp objects may risk causing a puncture. Additionally, regularly examine your tires for any visible damage or wear indicators. Rotate your tires and monitor tread depth to maintain good traction and control. Your bike repair kit should always accompany you where you ride. In this kit, include necessary tools like patch kits, levers, and spare tubes. Regularly replenishing these supplies ensures you are always prepared for situations like flat tires. Education and preparation enhance your cycling journey, giving you more time to enjoy the experience while reducing unexpected interruptions.
When tackling tire repairs, building confidence comes with practice. The more flats you fix, the easier and quicker you will become at it. Over time, you will develop a routine that works best for you. Consider enrolling in a local cycling workshop where you can learn from experienced cyclists and mechanics. Participating in these sessions can provide insights into advanced repairs, maintenance skills, and overall bike care. Your mechanics keep your bike in optimal condition, affecting your overall performance on rides. Emphasizing the importance of familiarizing yourself with all components of your bike allows you to troubleshoot issues quickly. Take advantage of resources online for DIY maintenance and repairs. Many sites and videos highlight tips and tricks you might not find in written manuals. With time, your mechanical skills will sharpen. Fellowship with fellow cyclists can create a shared knowledge base, exposing you to new techniques and ideas. Remember, skillful bike maintenance protects your time, finances, and riding experience. Whether you ride casually or competitively, maintaining your tire is a fundamental aspect of cycling that every cyclist should master.
Conclusion
In summary, knowing how to fix a flat tire is a vital skill for any cyclist. From the proper tools and techniques to preventative measures, this guide covers essential steps in tire maintenance and repair. By following these instructions, you ensure that a flat tire doesn’t ruin your day on the road. Remember to check your tire condition regularly, inflate tires to the correct pressure, and carry tools at all times. Investing some time into learning these skills pays off when you find yourself prepared for unexpected challenges. Aim to create a habitual practice of checking your bike and learning from experiences. As you evolve in your cycling journey, becoming knowledgeable about bike repair empowers you to take control of your ride. Don’t hesitate to share your learnings with friends or fellow cyclists, enhancing the community’s knowledge base. Flat tires are simply part of cycling; being equipped to handle them will ultimately deepen your enjoyment of biking. Embrace the challenge, and remember that every cyclist faces them at some point. Repair skills will prepare you for any journey ahead, making your cycling adventures all the more rewarding.
This practical knowledge ensures a smoother ride, elevating your cycling experience. Whether you’re riding for leisure, commuting, or racing, the lessons learned from maintaining tires will prove invaluable. Keep pedaling, keep learning, and tackle those flat tires head-on!